Time to update the blog. Since the last post my wife and I moved to Wisconsin. Between finishing my truck, the move, and an overall busy summer I haven't had much time to update the blog. The truck is finished in some respects but still needs some work with the muffler, the interior, and the body.
Here was the truck after the original cab was removed. I "Wisconsin-proofed" the frame by adding several coats of undercoating spray on the exposed frame. I knew the salty roads can wreak havoc on steel and wanted to protect my investment. Note of advice, the undercoating spray takes a long time to dry. It took 3 weeks and the dumb thing was still not completely dry and several places. This could have been spraying it multiple times too quickly. Though I know there was about a week in between coats.

One of the hardest things in a project like this is to take your time and do everything right while you've got it taken a part. This was a great opportunity for me to really get my truck prepared. How often do I ever have an opportunity to take the cab off? It was hard not to rush the project, but Jake and Jackie urged me to keep the mindset: Do it once and do it right.
 |
| T176 Transmission on the left with NP208 Transfer Case on the right. |
Also, a problem for me between cabs was making decisions. Should I keep the 3 speed or should I go automatic? Should I stay 4-way drums or should I get disk brakes in the front? Jake helped me with this by dropping a 4-speed transmission in my lap (figuratively of course, not literally). Going with a 4 speed T-176 transmission and the NP208 transfer case meant that I had to also get a different axle where the differential was on the driver's side unlike my current axle. This also gave me an opportunity to change to disk brakes instead of drums since Jake had a 6-lug axle with the differential on the driver's side with disk brakes. Disk brakes are all around better brakes; I wasn't about to pass up this opportunity.
I began by cutting the U-bolts from a 1984 Jeep J10. As you can see in the picture, the pumpkin (differential) is on the driver's side. Also, somebody must have gotten a pneumatic wrench and a pair of shocks the same year at Christmas. We could not get these shocks off except by heating up the bolts and easing them off by hand.
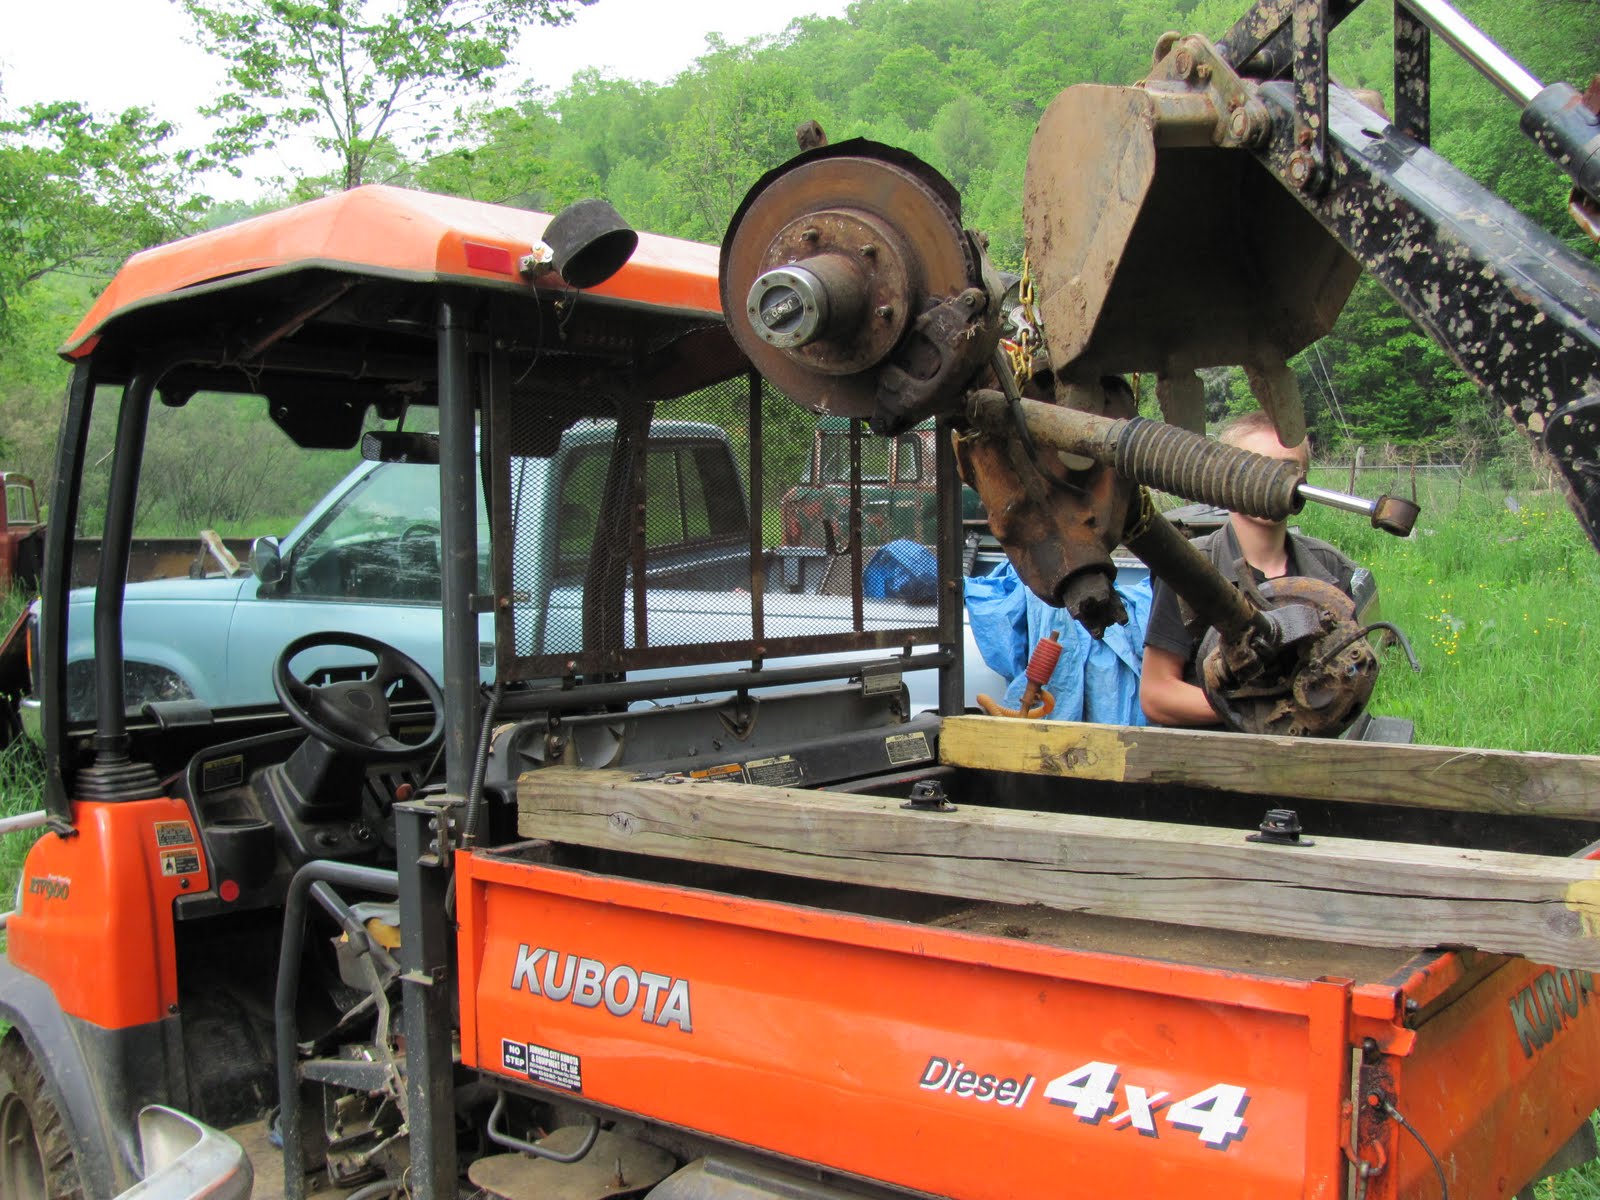
Ask Jake about the 100 different ways you never thought of to use a tractor and a Kubota. These were essential in moving truck parts around.

After we got the axle up to the house using the Kubota, we put it on an air-lift jack and I proceeded in taking the hubs off to have them polished up. Also, I bought new calipers, pads, hoses, and grease. I also got a new master cylinder and brake booster......I think I was Advanced Auto's best customer in 2011.
 |
| Where did Jake get an air-lift jack? |
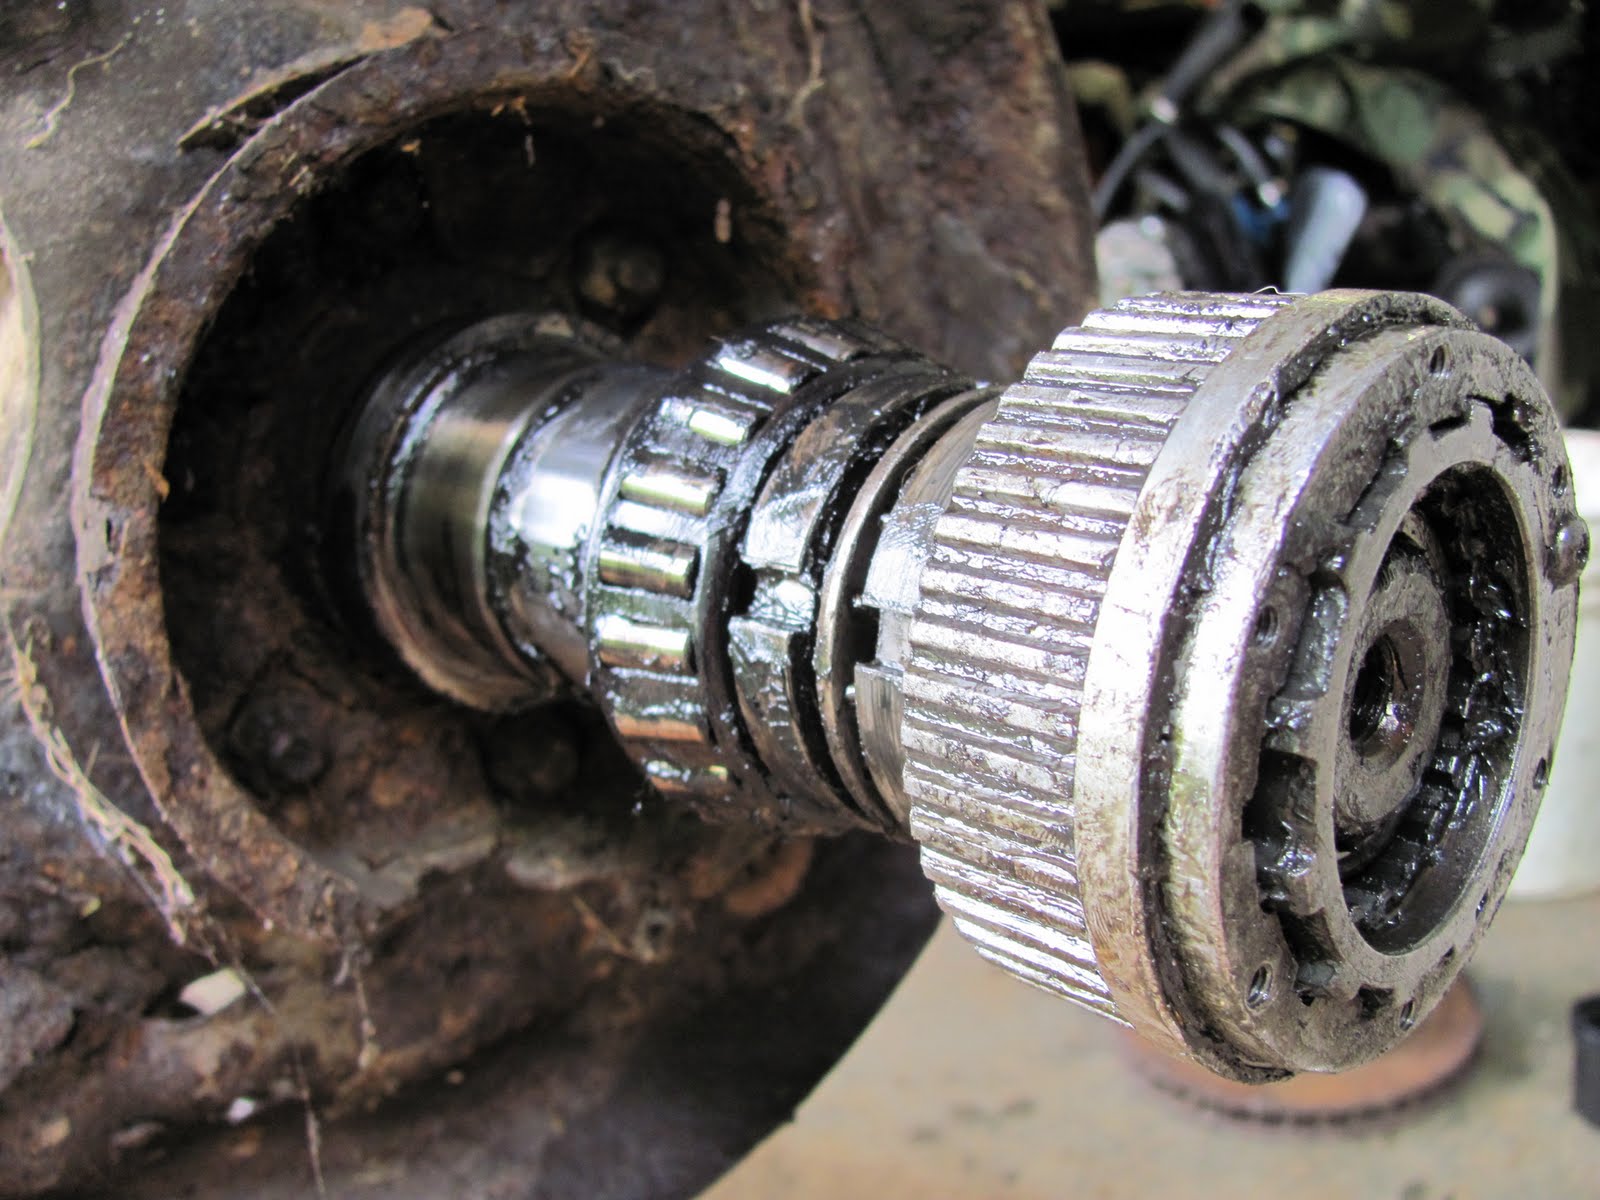
By the way, one of the biggest things that I learned was a job is only as difficult as you make it. Every time I got my hands into something I seemed to want to make things harder than it actually was. I learned that taking the rotor off is super easy, especially if you know how to read and follow directions.


You begin the process of removing the rotor by taking off the caliper. The Haynes or Chilton manual shows you how. You have to compress the piston with a C-clamp, remove two bolts, and slide the caliper off. It's easy peasy.
Next you have to remove the locking hub. It has about 8 different screws that need an allen wrench. Next. there are too clips that need to be removed. The inner clip is smaller and is a C-clip (also known as a snap ring). I don't know the official name of the big one, but it's bigger and doesn't have the two holes that the snap ring has. Once these are removed, the outer wheel bearings come out.


Jake had a guy polish up the rotors for me so I could reuse them, and then I put it all back together. After this, I changed the calipers and disks. I guess I must have forgotten to take pictures of that process. Before putting the disks on, it's a good idea to put Disk Brake Quiet compound on the outside of the brake pads. It's a bright orange color. This helps them not be so noisy. Also, remember to make the pads and rotors as clean as possible. Do not let oil or grease touch either the pad or the rotors. Do it yourself brakes is super easy if you have a few tools laying around.

Lookin' good, Scott. Reminds me that I've got all the brake hardware for my Hyundai on the way. Woohoo! Brakes all 'round!
ReplyDeleteNice red jeep in the background
ReplyDelete